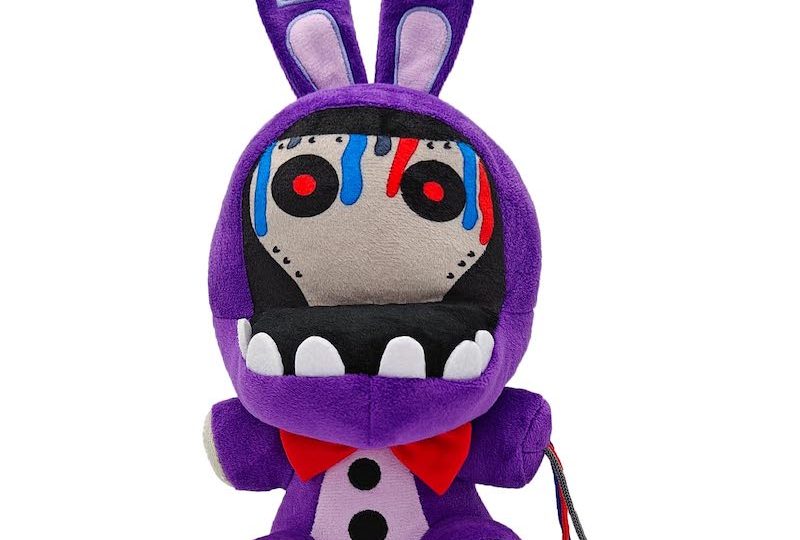
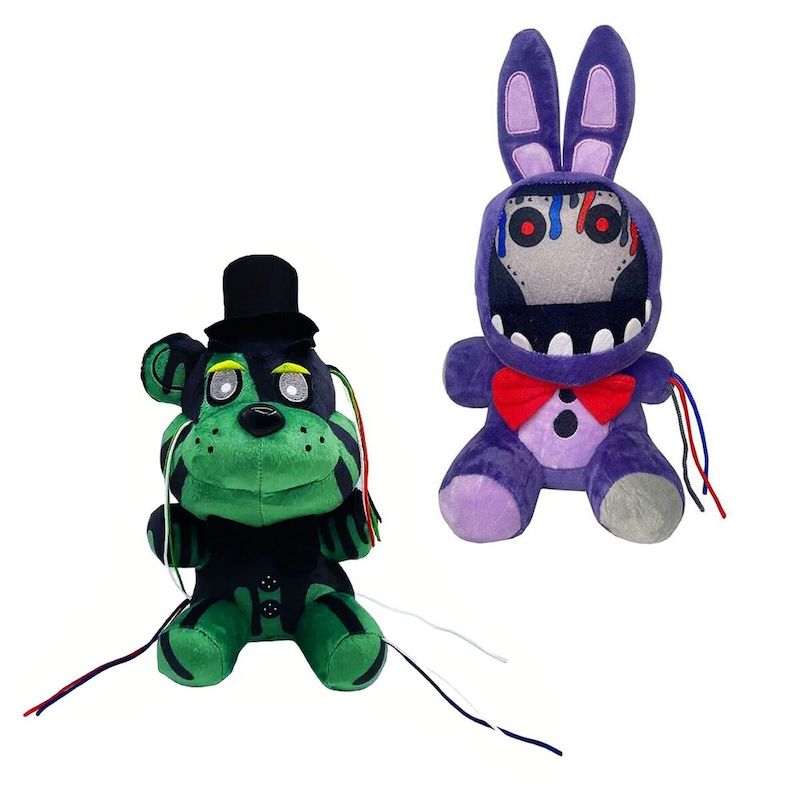
The Beloved Character Withered Toy Bonnie: Restoration Tips
Introduction to Withered Toy Bonnie
Withered Toy Bonnie, once a beloved character in the gaming universe, may encounter wear and damage. Enthusiasts and collectors know that withered Toy Bonnie isn’t just a toy; it’s a cherished piece of memorabilia. Such a figure can face aging, peeling paint, and occasional missing parts over time. For many, the idea of throwing away a withered Toy Bonnie isn’t an option. Instead, restoration becomes the mission. This beloved animatronic has character, and restoring it can be both rewarding and nostalgic. Whether it’s for display or simply to revive childhood memories, the restoration process is a delicate yet achievable task. It demands attention to detail, patience, and a bit of creativity. In the following sections, we’ll go through how to identify the damage and gather the right tools. We’ll also provide a detailed restoration process, tips on maintenance, and more. Stay tuned as we bring your withered Toy Bonnie back to its original glory, one step at a time.
Identifying the Damage
Before jumping into the restoration of your withered Toy Bonnie, the crucial first step is to meticulously inspect the figure. Start by examining your Toy Bonnie under good lighting. Look for clear signs of wear such as chipped paint, cracks in the plastic, or missing pieces. It’s important to take notes on the specific areas that need attention. Use a magnifying glass for smaller, detailed parts—the eyes, for instance, often show signs of damage that are not visible to the naked eye.
Identifying the damage helps you tailor your approach. Surface scratches might just need a simple polish, while cracks could require filling or reconstructive work. Pay special attention to joints and articulations as these high-movement areas are prone to wear. Document all damage by taking photos or videos, which can also help track your progress during the restoration.
Don’t forget to check for internal issues. If your withered Toy Bonnie has electronic parts, you should test them to see if they are still functioning. Loose wiring or corroded batteries can be dangerous and need careful handling. Remember, thorough damage assessment is key for a successful restoration and will save you time and effort in the long run.
Gathering the Necessary Tools and Materials
After identifying the damage on your withered Toy Bonnie, the next vital phase involves assembling the right tools and materials for the job. Here, precision and the appropriate selection are crucial. Start with the basics; you’ll need screwdrivers of various sizes, tweezers, and pliers for disassembling and handling small pieces. For structural repairs, prepare fillers like epoxy putty or superglue that can reattach broken parts or fill gaps.
To address cosmetic issues, gather fine-grit sandpaper for smoothing out surfaces. You will also need high-quality paints that match the original colors of your Toy Bonnie. Consider both brushes and airbrushing tools for a flawless finish. For electronic parts, soldering equipment may be necessary for repairing wiring, along with replacement batteries if the current ones are corroded.
Jot down a detailed list to keep track of everything you need. For missing pieces, research online forums or speciality shops where parts may be available. Sometimes, you might have to get creative and craft custom parts if replacements are not found.
Always prioritize safety. Ensure that you have gloves and eye protection, especially while handling chemicals or operating potentially hazardous tools. With everything gathered, your workspace organized, and safety measures in place, you’re ready to embark on the actual restoration process of your withered Toy Bonnie.
Step-by-Step Restoration Process
Preparing for the restoration of a withered Toy Bonnie is key, but now it’s time to dive into the step-by-step process. These actions, when done with care and precision, can bring your cherished figure back to life.
Disassembling Withered Toy Bonnie
First, carefully disassemble your Toy Bonnie. Use your screwdrivers and pliers to gently take apart the joints and articulations. Keep each removed part in organized sections so you can easily reassemble them later.
Cleaning and Sanding
Next, clean every part with a soft cloth to remove dust and grime. If you find surface scratches, use fine-grit sandpaper to sand them away. Remember to sand gently to avoid causing more damage.
Structural Repairs
For cracks or breaks, apply epoxy putty or superglue. Mold the putty to the shape needed or reattach broken pieces with glue. Allow enough time for the repairs to set before moving onto the next step.
Electronic Repairs
Check the electronic components, if Toy Bonnie has any. Solder loose wires and replace corroded batteries as needed. Be cautious and ensure the electronics are safe and functional.
Priming for Paint
Once your Toy Bonnie is clean and repaired, apply a primer. A good primer will help the paint adhere better and last longer. Let the primer dry completely.
With patience and the following steps, your weared Toy Bonnie will gradually regain its original appearance and charm. Each step brings you closer to having a restored Toy Bonnie you can be proud of. Continue to the next sections where we will delve into painting tactics and part replacement procedures.

Painting and Cosmetic Fixes
After priming your withered Toy Bonnie, it’s time for painting and cosmetic fixes. Here’s how to restore its vibrant look.
Choosing the Right Paints
Select high-quality paints that match Toy Bonnie’s original colors. Acrylics work well and are easy to find. Test the paint on a small area first to ensure it fits well.
Using Brushes and Airbrushes
Use fine brushes for detail work on Toy Bonnie’s face and body. An airbrush can achieve an even coat on larger areas. Practice on a scrap piece before applying.
Fixing Fine Details
Eye details and small decals may have worn off. Use a very fine brush to repaint these carefully. Proceed slowly to avoid smudges.
Applying Clear Coat
Once the paint dries, apply a clear coat. This will protect the paint and give Toy Bonnie a finished shine. Let the clear coat dry completely.
Follow these steps to beautifully restore the look of your withered Toy Bonnie. Take your time with each phase for the best results.
Replacing Missing Parts
A key challenge in restoring your withered Toy Bonnie is replacing missing parts. This stage is crucial as it can bring back the original look and functionality of the toy. Here’s what you need to do:
Locate Replacement Parts
Begin the search for replacement parts on collector forums and speciality shops. Match parts carefully with the original specifications of your Toy Bonnie.
Crafting Custom Parts
If you can’t find a part, consider making it. Use materials like plastic or resin. Shape them to fit your figure.
Fitting New Pieces
Test-fit each new or custom part to ensure they align properly. Careful fitting avoids future issues with joints or movement.
Securing the Parts
Once you’ve confirmed the fit, secure the parts. Use strong adhesives or tiny screws, depending on what’s best for Toy Bonnie.
By following these steps, you’ll replace missing elements and get your Toy Bonnie one step closer to its former glory. Pay attention to detail to ensure the best outcome.
Final Assembly and Quality Check
After laboriously restoring each part of withered Toy Bonnie, we reach the final assembly phase. This stage is where precision and caution are paramount to ensure that all the efforts put into repairing and aesthetic fixes come together seamlessly.
Checking All Restored Parts
Before reassembling, lay out all the restored parts. Check each one, comparing them against your documentation. Ensure that all repairs are intact and the paint jobs are flawless.
Reassembling Withered Toy Bonnie
Carefully start reassembling Toy Bonnie, following the organization you maintained during disassembly. Fit each piece in place, applying gentle pressure as needed. If any part feels forced, step back and check again; it should fit naturally.
Testing Joint Movement
Once reassembled, test the joint movement. Make sure all parts move as intended. This check is crucial for articulations to function without strain or breaking.
Final Electronic Function Test
If Toy Bonnie is electronic, conduct a final test. Turn on the toy, check every feature, and replace any malfunctioning components.
Quality Inspection
Inspect Toy Bonnie from all angles. Look for any irregularities: uneven paint, loose parts, or stiff joints. Fix any issue you find right away.
Documenting the Restored Figure
Take clear photos or a video of the fully restored Toy Bonnie. Documenting the restoration helps to compare before and after conditions.
The restoration is complete when Toy Bonnie stands in its original glory. Follow these steps to restore withered Toy Bonnie. Be mindful of the process, and handle with care throughout.

Maintenance Tips to Keep Toy Bonnie in Perfect Condition
Once you have lovingly restored your withered Toy Bonnie, maintaining its condition is essential. Proper care ensures your Toy Bonnie continues to look its best for years to come. Here are vital maintenance tips to keep in mind.
Regular Cleaning
Dust and dirt can accumulate, leading to wear. Gently wipe Toy Bonnie with a dry, soft cloth regularly. Avoid harsh chemicals that could damage the paint or plastic.
Avoiding Direct Sunlight
Prolonged exposure to sunlight can fade colors. Always display your Toy Bonnie away from direct sunlight or in a shaded area.
Keeping it Dry
Moisture is a threat to Toy Bonnie’s electronics and paint. Make sure the storage area is dry and well-ventilated.
Checking the Joints and Articulations
Periodically check the joints for stiffness. Apply a small amount of lubricant if needed, to keep movements smooth.
Electronic Component Care
Routinely test the electronic features and replace batteries when needed. This prevents damage from battery leaks.
Safe Storage
Store your Toy Bonnie in a secure place. A display case that limits dust and contact is ideal. If boxed, use acid-free paper to wrap the toy.
Stick to these maintenance tips to keep your Toy Bonnie in pristine condition. Remember, a little care goes a long way. Handle with love, and your Toy Bonnie will continue to bring joy and nostalgia for many years.